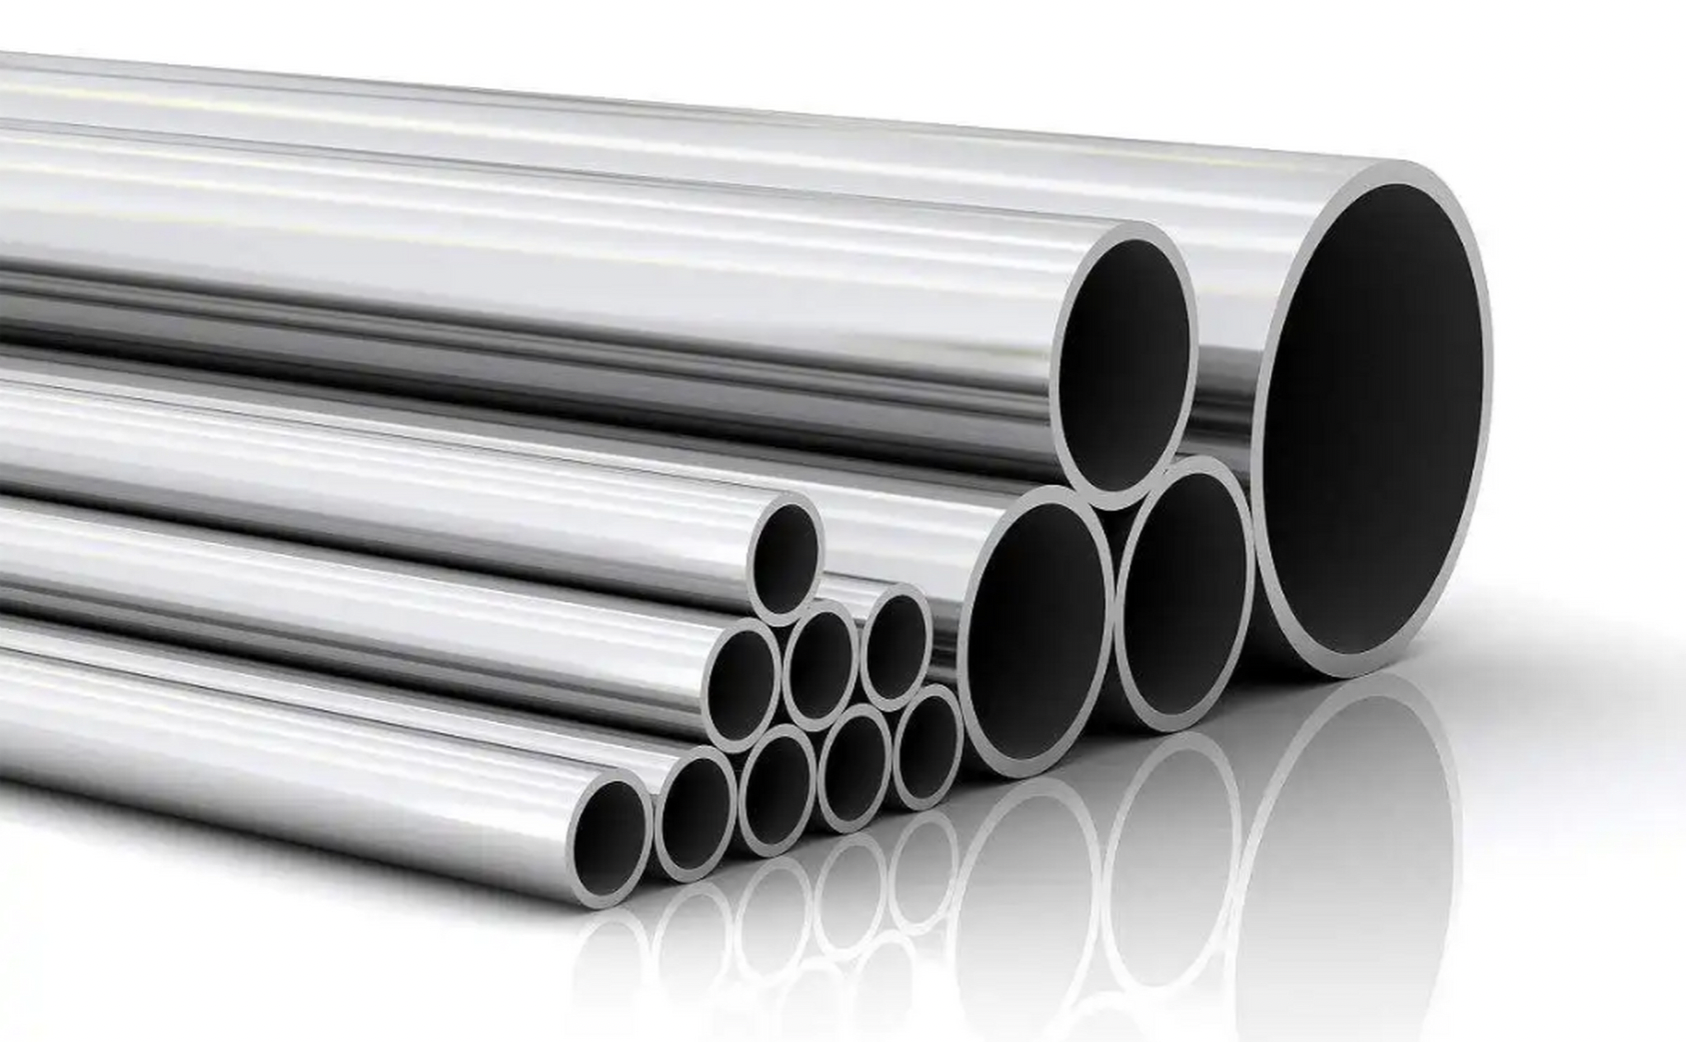
How to Inspect Stainless Steel Seamless Tubes: A Comprehensive Guide for B2B Buyers
In industries ranging from oil and gas to chemical processing, pharmaceuticals, and aerospace, stainless steel seamless tubes (SSST) are critical components demanding uncompromised quality. For B2B buyers sourcing these tubes globally, ensuring compliance with international standards, performance reliability, and long-term durability is non-negotiable. This guide breaks down the key inspection protocols every buyer should validate to mitigate risks, avoid costly rejections, and secure supply chain confidence.
Why Inspection Matters for Stainless Steel Seamless Tubes
Stainless steel seamless tubes are engineered through a process where molten metal is pierced to form a hollow billet, eliminating welds (unlike welded tubes). While this method enhances strength and corrosion resistance, it introduces unique quality risks:
- Microstructural defects (e.g., cracks, inclusions) from improper piercing or cooling.
- Mechanical property deviations due to inconsistent alloy composition or heat treatment.
- Surface imperfections that compromise sealing or expose the material to pitting.
A rigorous inspection ensures the tubes meet application-specific requirements (e.g., high-pressure systems demand superior tensile strength; food-grade applications require hygiene-compliant surface finishes).
Core Inspection Parameters & Methods
To validate SSST quality, focus on these six critical areas, aligned with global standards (ASTM, ASME, ISO, EN):
1. Chemical Composition Analysis
Why it matters: Stainless steel’s performance hinges on alloying elements (e.g., Cr ≥16% for corrosion resistance, Ni for ductility, Mo for pitting resistance). Deviations (e.g., low Cr, excess C) can degrade durability.
How to inspect:
- Use spectroscopy (e.g., Optical Emission Spectroscopy, XRF) to verify elemental composition against the specified grade (e.g., ASTM A312 TP304/316L, EN 1.4301/1.4404).
- Cross-check with the mill’s test report (MTR) for traceability.
Red flag: A TP316L tube with >0.03% carbon (vs. max 0.03% spec) may lose intergranular corrosion resistance.
2. Mechanical Properties Testing
Why it matters: Tubes must withstand operational stresses (tensile, compressive, torsional) without deformation or failure.
Key tests:
- Tensile Test: Measures ultimate tensile strength (UTS), yield strength (YS), and elongation. For example, ASTM A269 TP304 requires UTS ≥515 MPa, YS ≥205 MPa, and elongation ≥40%.
- Hardness Test: Rockwell (HRB) or Vickers (HV) to ensure compliance (e.g., TP304 typically ≤90 HRB). Over-hardening may reduce formability.
- Impact Test (Charpy V-Notch): Mandatory for low-temperature applications (e.g., Arctic oil pipelines). ASTM A312 requires ≥47J at -196°C for TP304L.
3. Dimensional Precision
Why it matters: Tight tolerances ensure proper fitting in assemblies (e.g., heat exchanger tubes) and avoid installation issues.
Critical dimensions:
- Outer Diameter (OD): Measured via micrometer or laser scan (tolerance: ±0.15mm for small diameters <25mm, per ASTM A213).
- Wall Thickness (WT): Ultrasonic Testing (UT) or eddy current to verify uniformity (e.g., ±10% of nominal WT per EN 10216).
- Straightness: Deviation ≤1mm/m for most grades; stricter for precision applications (e.g., aerospace).
4. Surface Quality Inspection
Why it matters: Surface defects (cracks, folds, scale, pits) act as corrosion initiation points or stress concentrators.
Methods:
- Visual Inspection: Check for visible flaws under proper lighting (≥500 lux). Use magnifiers (5-10x) for fine defects.
- Dye Penetrant Testing (PT): Detects micro-cracks (≤0.5mm) in critical areas (e.g., tube ends).
- Eddy Current Testing (ET): Identifies surface/subsurface cracks (up to 2mm depth) using electromagnetic induction—ideal for high-volume screening.
5. Process Performance Testing
Why it matters: Seamless tubes must resist deformation during installation (e.g., bending, flaring).
Key tests:
- Flattening Test: Compress the tube until the wall touches, checking for cracks (per ASTM A269: max flattening to 80% of OD without cracking).
- Bend Test: Bend the tube 180° around a mandrel (radius = 4x OD) to verify ductility (no cracks on the outer surface).
- Hydrostatic Test: Pressurize the tube (1.5x working pressure) to detect leaks—critical for hydraulic systems.
6. Non-Destructive Testing (NDT) for Internal Integrity
Why it matters: Even small internal defects (e.g., laps, inclusions) can cause catastrophic failure under pressure.
Methods:
- Ultrasonic Testing (UT): High-frequency sound waves scan the tube wall thickness and detect internal flaws (resolution: ≤1mm).
- Radiographic Testing (RT): X-ray or gamma-ray imaging for weld-like defects (rare in seamless tubes but required for critical applications like nuclear).
Best Practices for B2B Buyers
To ensure your SSST supply meets expectations:
- Specify Standards Upfront: Clearly state applicable codes (e.g., ASTM A312 for general use, EN 10216-5 for high-pressure).
- Conduct Pre-Shipment Inspections (PSI): For high-value orders, inspect 10-20% of the batch at the mill, including destructive testing (e.g., tensile samples).
- Traceability: Require MTRs with heat numbers, batch codes, and test results—critical for recalls or quality disputes.
Conclusion
Inspecting stainless steel seamless tubes is a multi-layered process that balances standard compliance with application-specific needs. By focusing on chemical composition, mechanical properties, dimensional accuracy, surface integrity, and NDT, B2B buyers can mitigate risks, ensure product reliability, and build trust with suppliers.
